
Corroded metal look
made of aluminium paper and paint.
made of aluminium paper and paint.
This weathered metal letter isn't really rusted, its not even metal for that matter... it's just a plastic letter I bought at Michaels for $3 bucks but you couldn't tell until you pick it up and realize how light in weight it is.
I started by gathering my project materials:
* My letter, plastic, foam, wood or cardboard... It doesn't matter!... This technique will work on most surfaces, trust me!
* Aluminum Foil paper... Your regular, everyday, kitchen aluminium foil paper will do, rolled or sheets.
* Spray glue (dries faster) but you can use whatever works for you according to the material of your letter.
* Black Shoe polish... The sponge tip type. Great for foil projects!!
* Craft paint in beige or tan, blue and green.
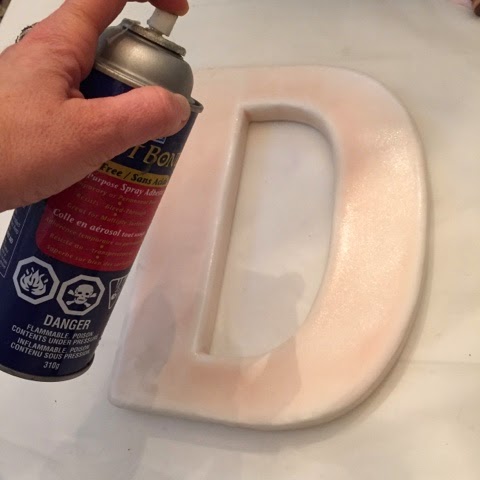
This is how my plastic letter looked like before I started.

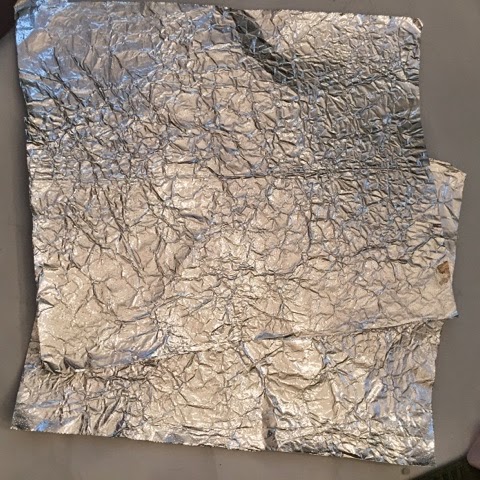
I cut two pieces of foil paper big enough to cover the letter, one piece for the front and the other for the back.

I scrunched the paper to create wrinkles that will latter become the realistic texture of corroded metal that I'm after.
Be careful not to rip the paper at this point, ok?
Ok, my sheets are now ready to be glued on to the letter.
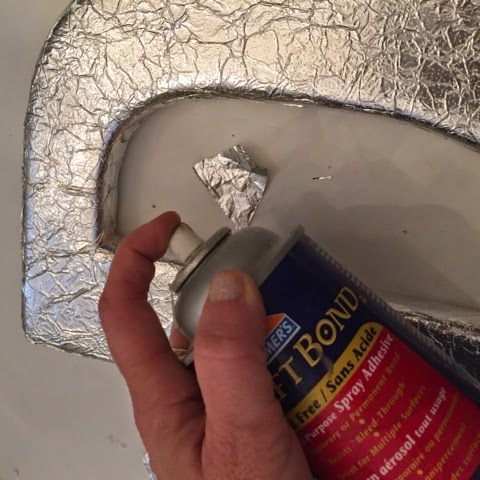
I used spray adhesive because it's easy to work with and very fast drying, so I sprayed the front side and...
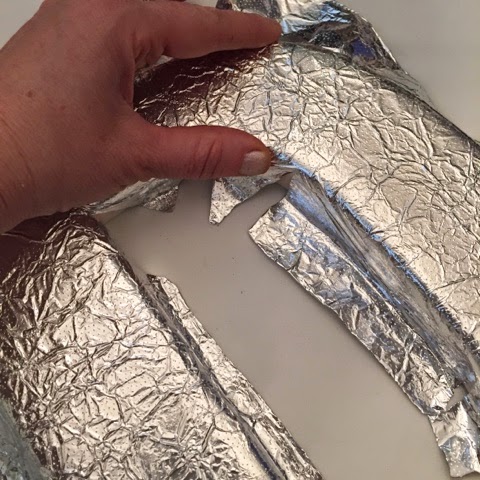
I placed one of my wrinkled foil sheets on top pressing hard enough to create contact between the foil and the plastic of my letter avoiding air bubbles but not smoothing my precious wrinkles.
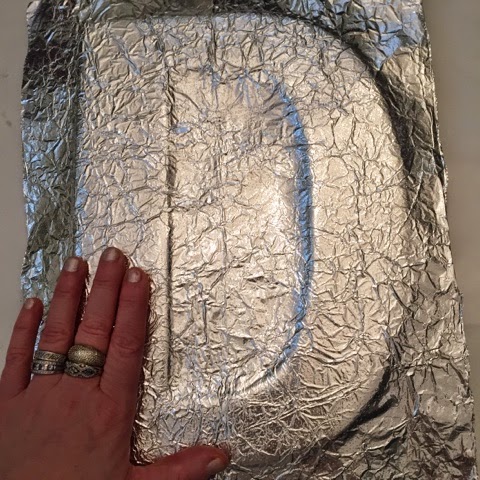
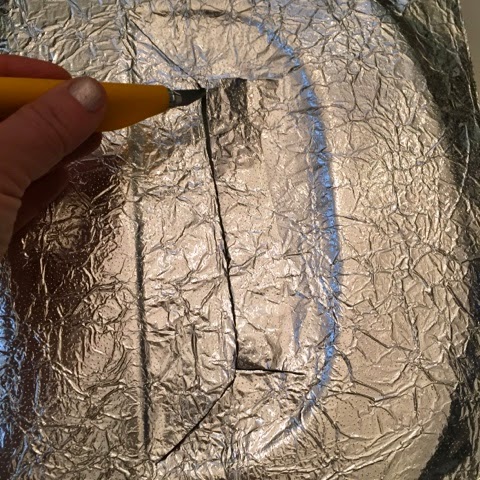
I then. Made an incision on the foil paper allowing the inside of the letter to receive the paper making sure it covered asu h as possible.
At this point you'll have some uncovered areas that will easily be patched up latter on.
I tried being as neat as possible but it got kinda messy...
At the end, I covered most of it and I patched the gaps latter.
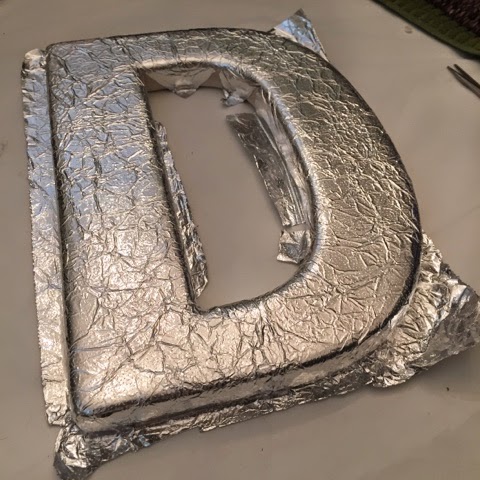
I turned my letter over and repeated the process the exact same way as with the front.
I ended up with a "tab" of extra foil paper so I cut the excess leaving enough hot glue it neatly to the edges of the letter.
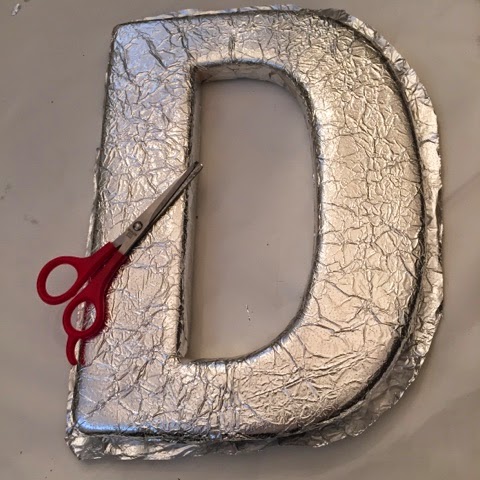
For this part I also used spray glue but you can use hot glue, elders glue... It's up to you as long as it glues it firmly!
This is where I took the extra time to patch up those gaps... I cut small pieces of foil and glue them inconspicuously... very easy!
And now, the fun part!!
I painted the entire letter, back and front, with cheap craft paint. I used the first beige I found, not picky its just a base colour.
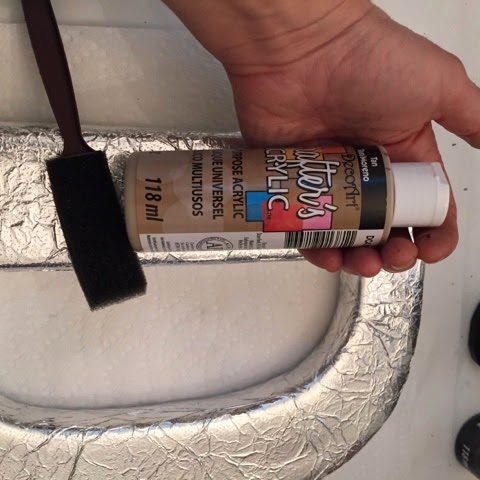
I painted front and back ...

And I let it dry for about 2 hours.
It took long because the foil is not a Porous surface so the paint had no way to be absorbed just air dry.
My next step is actually the best par of this entire project...
This is when the metal look happens!!
This is when the metal look happens!!
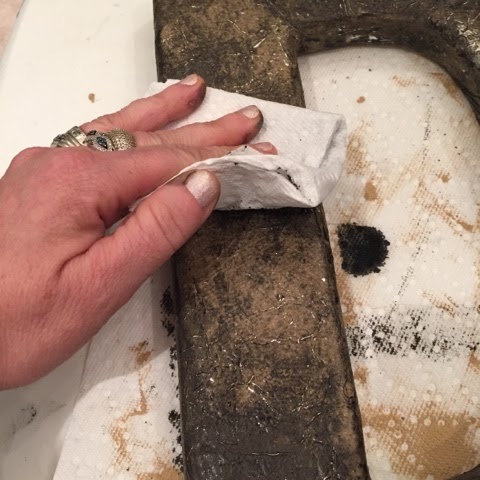
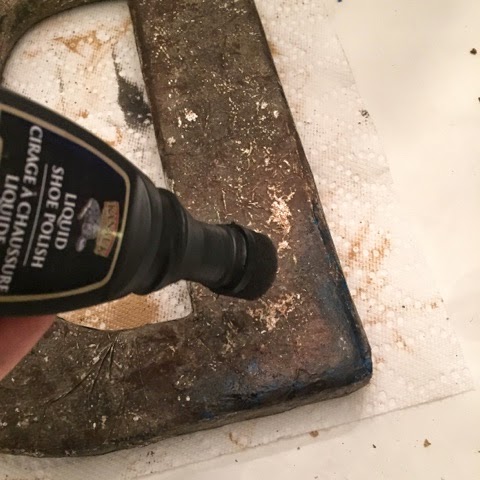
Paint your beige letter with dark shoe polish and be generous on the ink... Don't smudge it or rub it or you'll be removing your beige paint of the foil, simply brush it on smoothly over the surface and watch the magic happen.
Dry any excess shoe polish ink with a paper towel but do this sporadically not uniformly.
You want to create patches of dark and light areas.
You want to create patches of dark and light areas.
Some of the paint will come off and you'll end up with small patches of foil showing through, that's perfect!
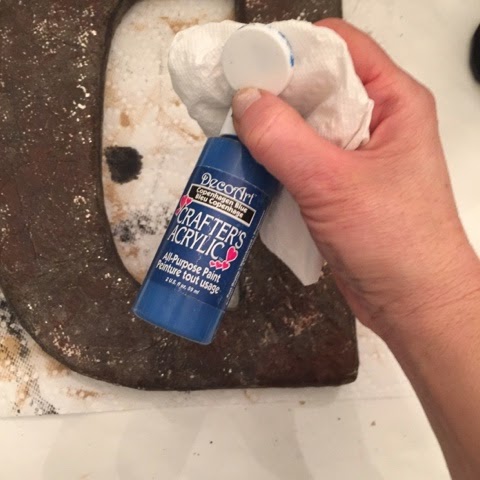
now you have to add on the corroded look by experimenting with colour paint, I used blue and green because in my mind, these are the colours of natural patinas occurring on real metals but you can use other colours such as, orange ( for a more rusted feel) or copper... its up to you!
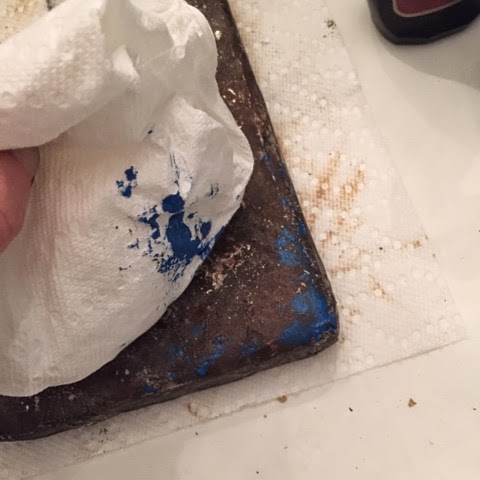
For this technique I only use a very small amount of paint on a paper towel, I dab it on and then painted over it with the shoe polish to darken it a bit.
I did the same with the green paint.
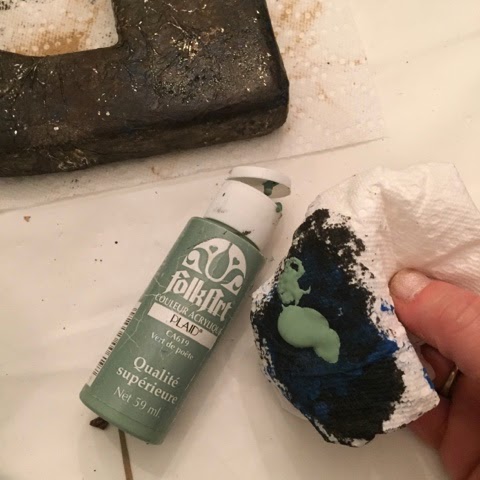
and I played around with the green until I got the look I was after.

For the "screw holes, I used the back of a real screw...
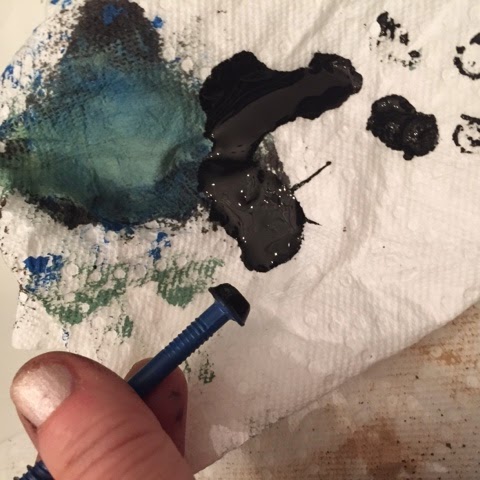
I dabbed the screw onto some black paint and...
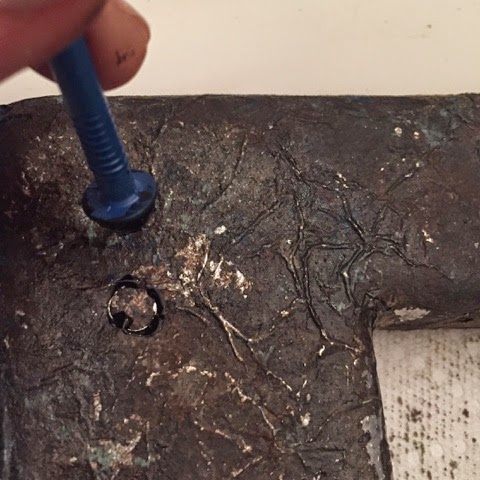
paint it the corner of my letter in two places to resemble real screw holes on metal.
I also scratched off a diagonal line revealing some silver foil making it look like the screw driver's line.
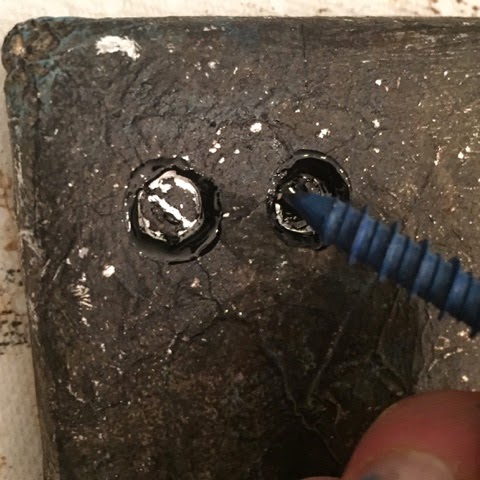
..very realistic, eh?
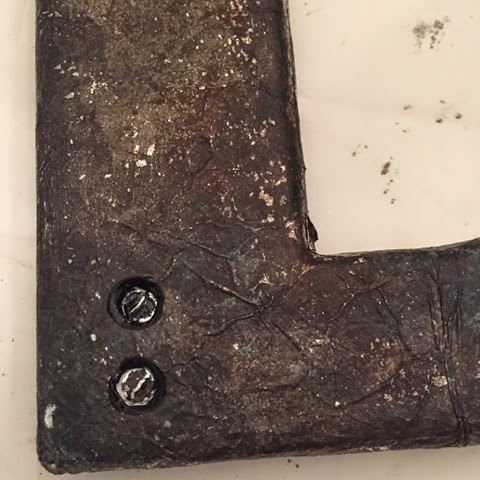
well, that's it!
This is how I turned a simple plastic letter form in to something a little more...DRAMATIC? LOL
I'll be using this letter as a decorating prop for an upcoming event Styling gig as I will be dressing up a theme dessert table for a 50th Birthday Celebration, the host's name... Dave. Profession... he's a contractor!
I hope you liked this project.
Please leave me a comment, I'd love to hear from you!!
This is so cool. I'm going to try this on a funky twirly lamp base. Thanks for this great idea!
ReplyDeleteCool!! Dont Forget to show us the results!!
DeleteHow fun and so very realistic. Great job!!
ReplyDeleteThanks so much!! :0)
DeleteHow fun and so very realistic. Great job!!
ReplyDeleteThanks!! My son saw it on my studio and picked it up thinking it was real iron.... When he realize it was plastic he couldn't believe it... Hahaha!!
DeleteI have a cardboard letter I've been wanting to do something with. Think I'll try this technique. Thanks for sharing.
ReplyDeleteIt was a lot fun, you'll love it!
DeleteLove this, I have done something similar using foil tape, and washable markers, this looks great and less exspensive and less time consuming. Great.
ReplyDeleteThank you!!... 👍
DeleteGREAT Job!!! I'm going to do this for sure.
ReplyDeleteThanks!
DeleteI just came here through the Graphics Fairy to see your glass tracing art and then I saw this too! You are so creative!! This is another project I can't wait to try! :)
ReplyDeleteThanks so much and good luck with your project... you're gonna love making these!!
DeleteEu amei, que legal!!!!!
ReplyDeleteThis is great - I Love it!
ReplyDeleteBeen thinking of making something for my walls and wanted a metal look - so glad I came across your blog! Now to just figure out what to create...
Great ideas all around - love your creativity!
-Stacy
I have done something similar using brown paper, white elmers glue using flame to burn/bubble it, then black and gold paint to antique it.
ReplyDeleteI have done something similar using brown paper, white elmers glue using flame to burn/bubble it, then black and gold paint to antique it.
ReplyDeleteBrown paper and glycerine worked well for me also. Faux leather look on a book I covered
DeleteReally impressed! Everything is very open and very clear clarification of issues. It contains truly facts. Your website is very valuable. Thanks for sharing. metal pressings
ReplyDeleteGday from Oz Victoria ��
ReplyDeleteRecently found u and Im really stoked with all your projects. Easy,affordable and very easy to follow your instructions. Gonna try a few in the near future ��
Sat yesterday for nearly an hour going thru them all �� hahaha. Loved it cheers Kaz ��
Hmm those question marks are meant to be smiley emojis lol dont know what happened there
ReplyDeleteHmm those question marks are meant to be smiley emojis lol dont know what happened there
ReplyDeleteA very awesome blog post. We are really grateful for your blog post. You will find a lot of approaches after visiting your post. I was exactly searching for. Thanks for such post and please keep it up. Great work https://www.hekl-metall.de/stanzteile-biegeteile/
ReplyDeleteYou'll likely be getting various sorts of metals and the amounts might be constrained to what you find or what you can pull. Work out an arrangement where the yard gives you a decent cost in return for reliable deluge of scrap metal.galvanisation plastiques
ReplyDeleteour company also provides a steam cleaning machine inside the car and have mechanisms for large distances up to more than 50 meters.
ReplyDeleteThe company specializes steam cleaning company certain types of detergents during the cleaning of the sofa and have a smell does not react with the raw materials of sofa and cloth made of it,شركة النجوم لخدمات التنظيف
شركة تنظيف فلل بالرياض
شركة عزل خزانات بالرياض
شركة جلي بلاط بالرياض