
This lovely fabric printed tray is my pride and joy and a
little inside joke I played to my sisters…
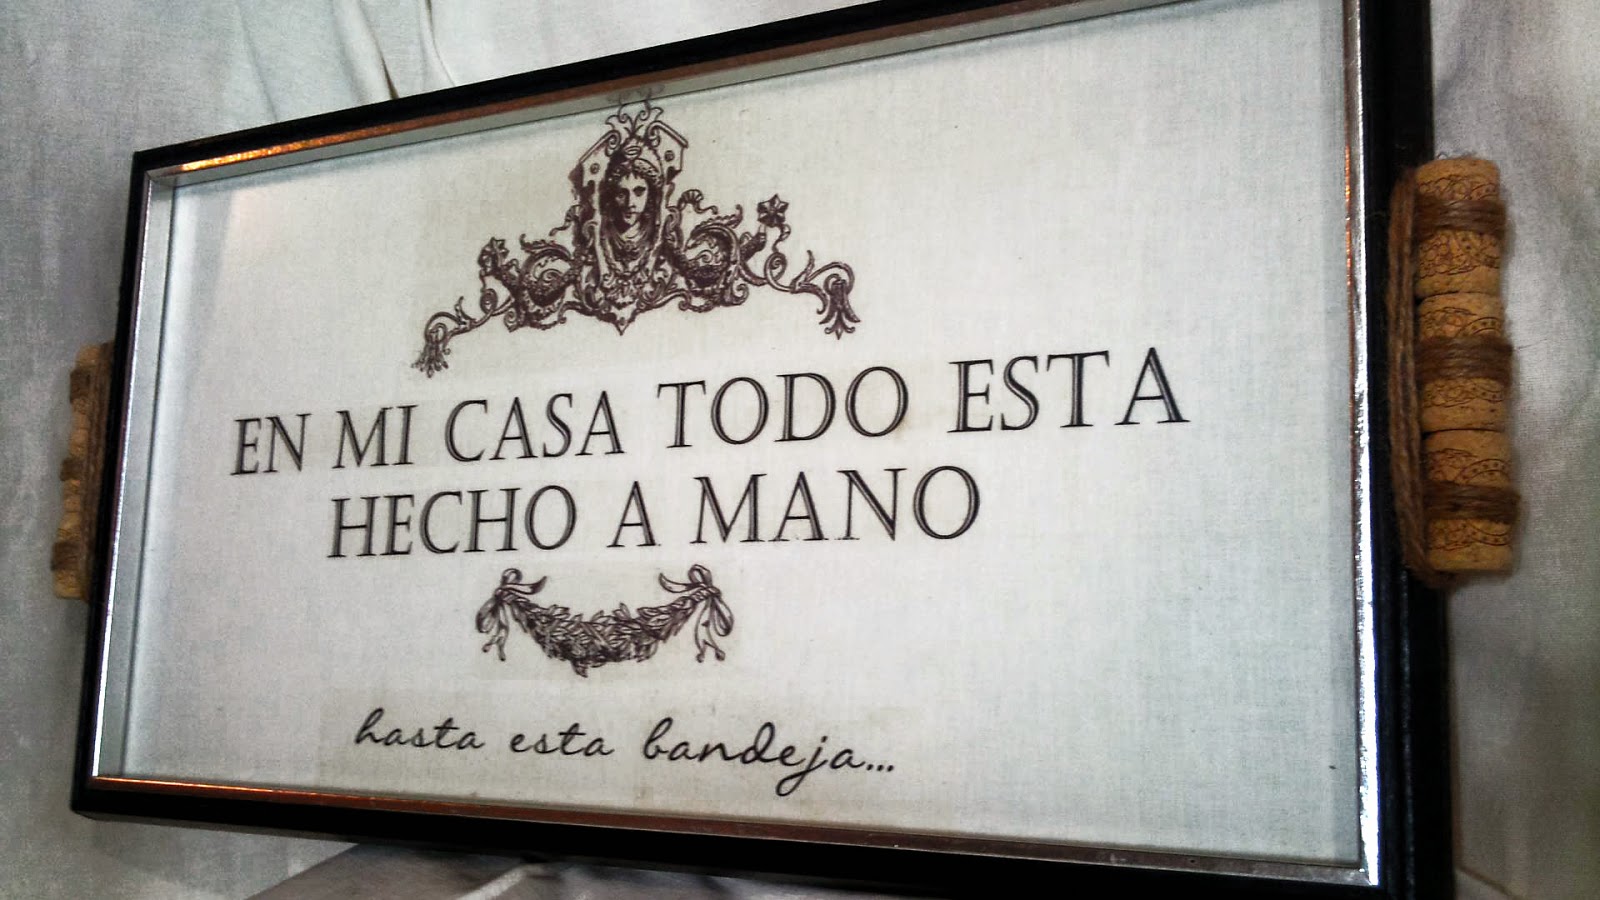
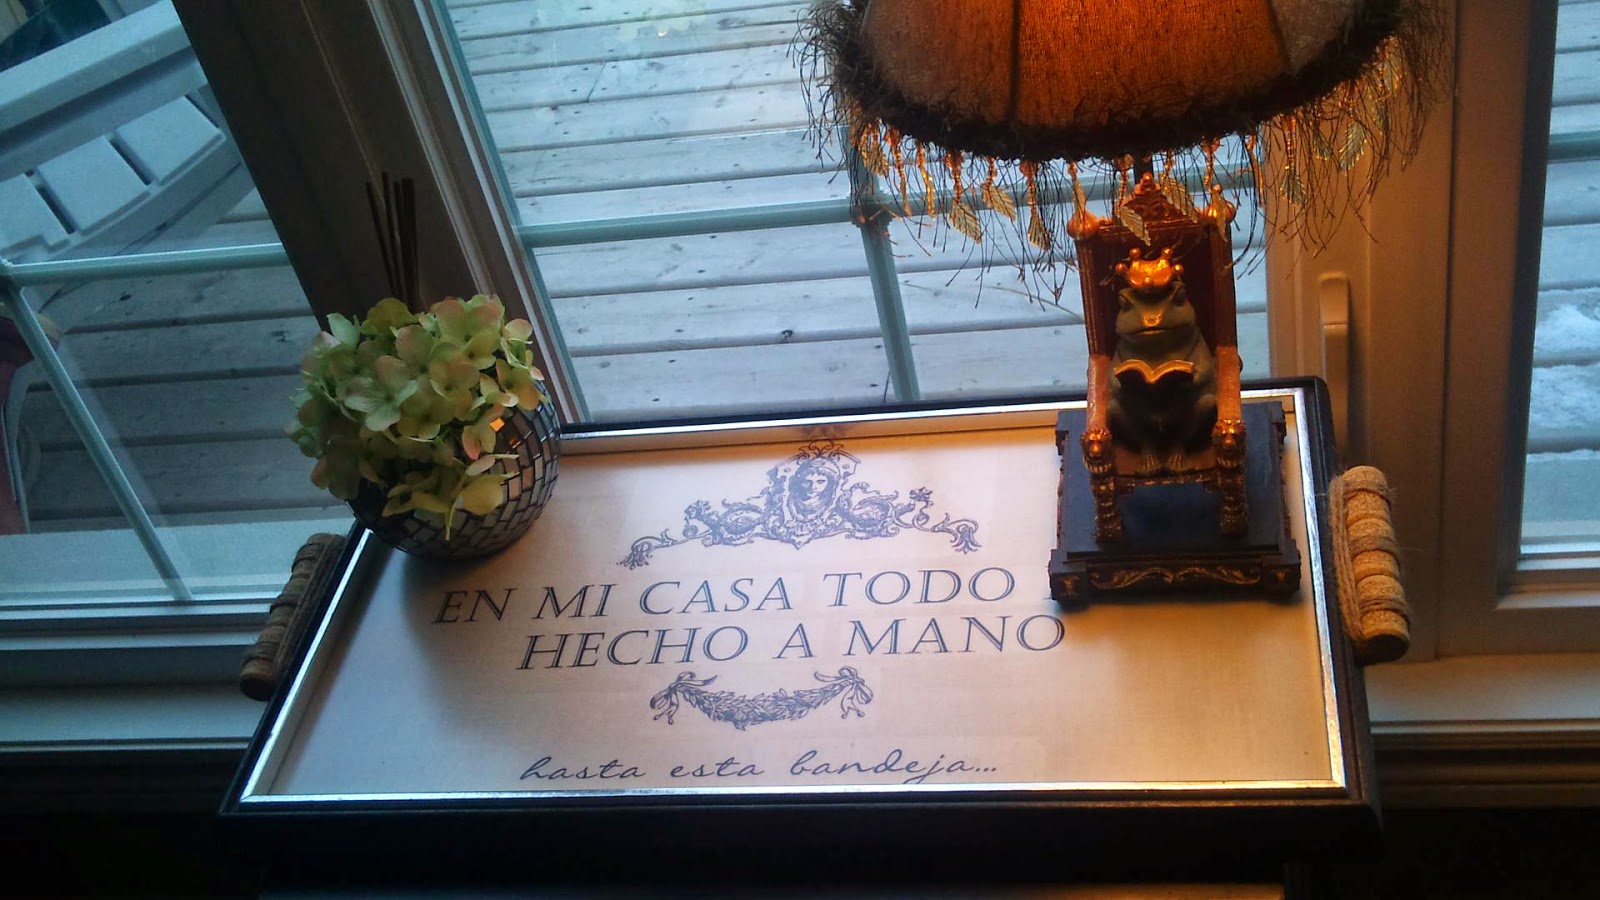
I often hear my sister’s comment about my crafting, they praise me for my talent but they also tease me for the many, many items in my house that are handmade, refurbished or redone… so, I made this tray to confirm their suspicions about my crafting obsessions.
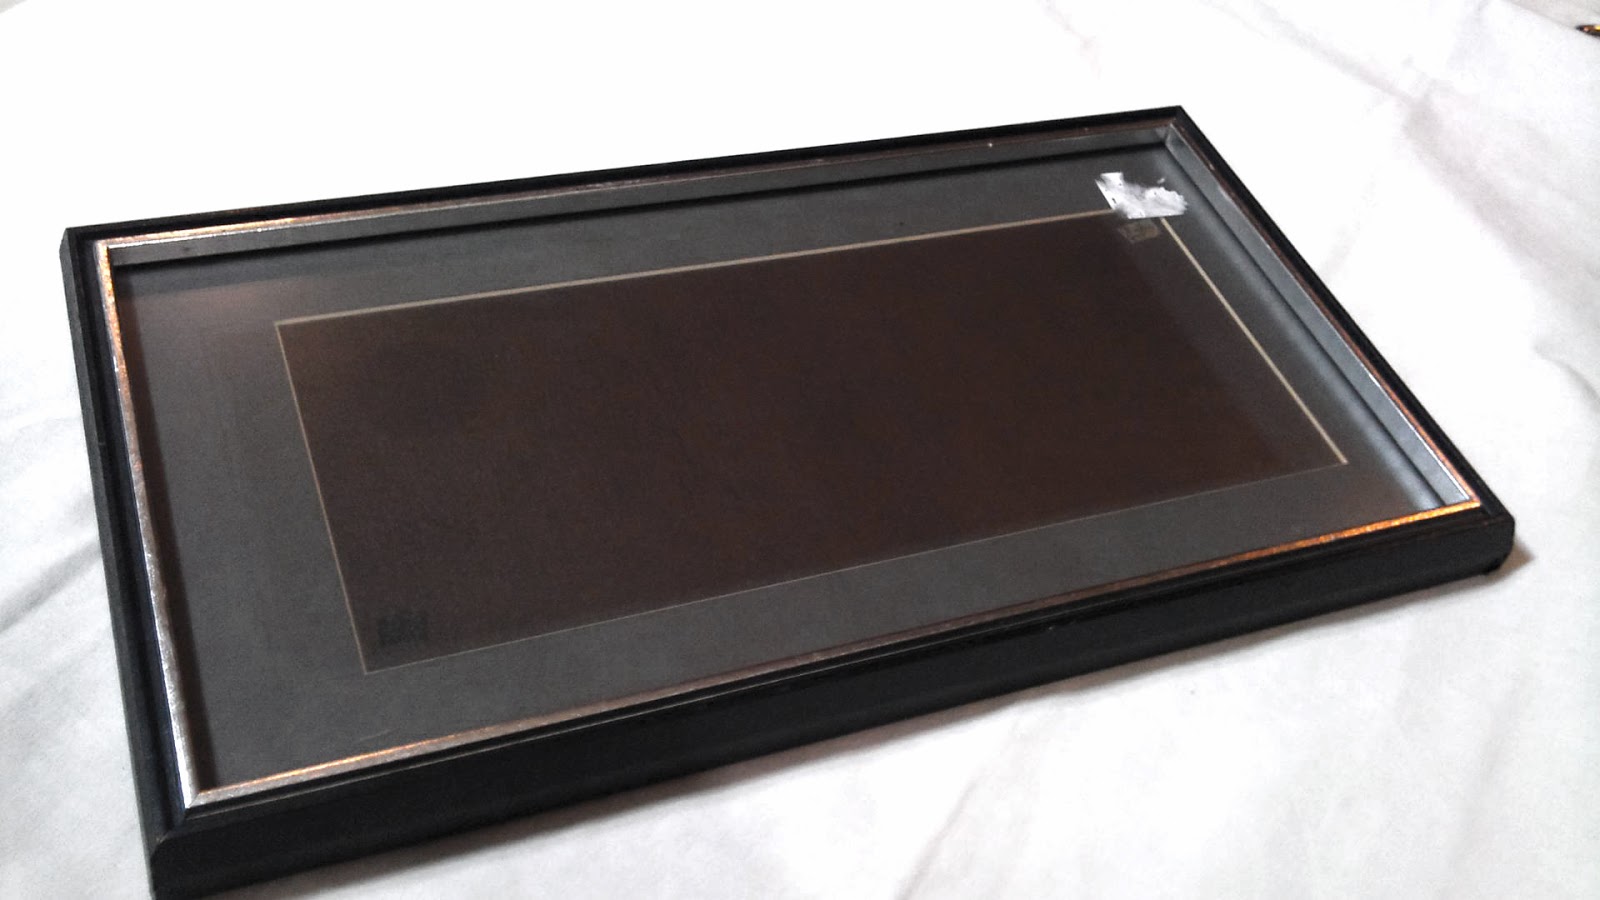
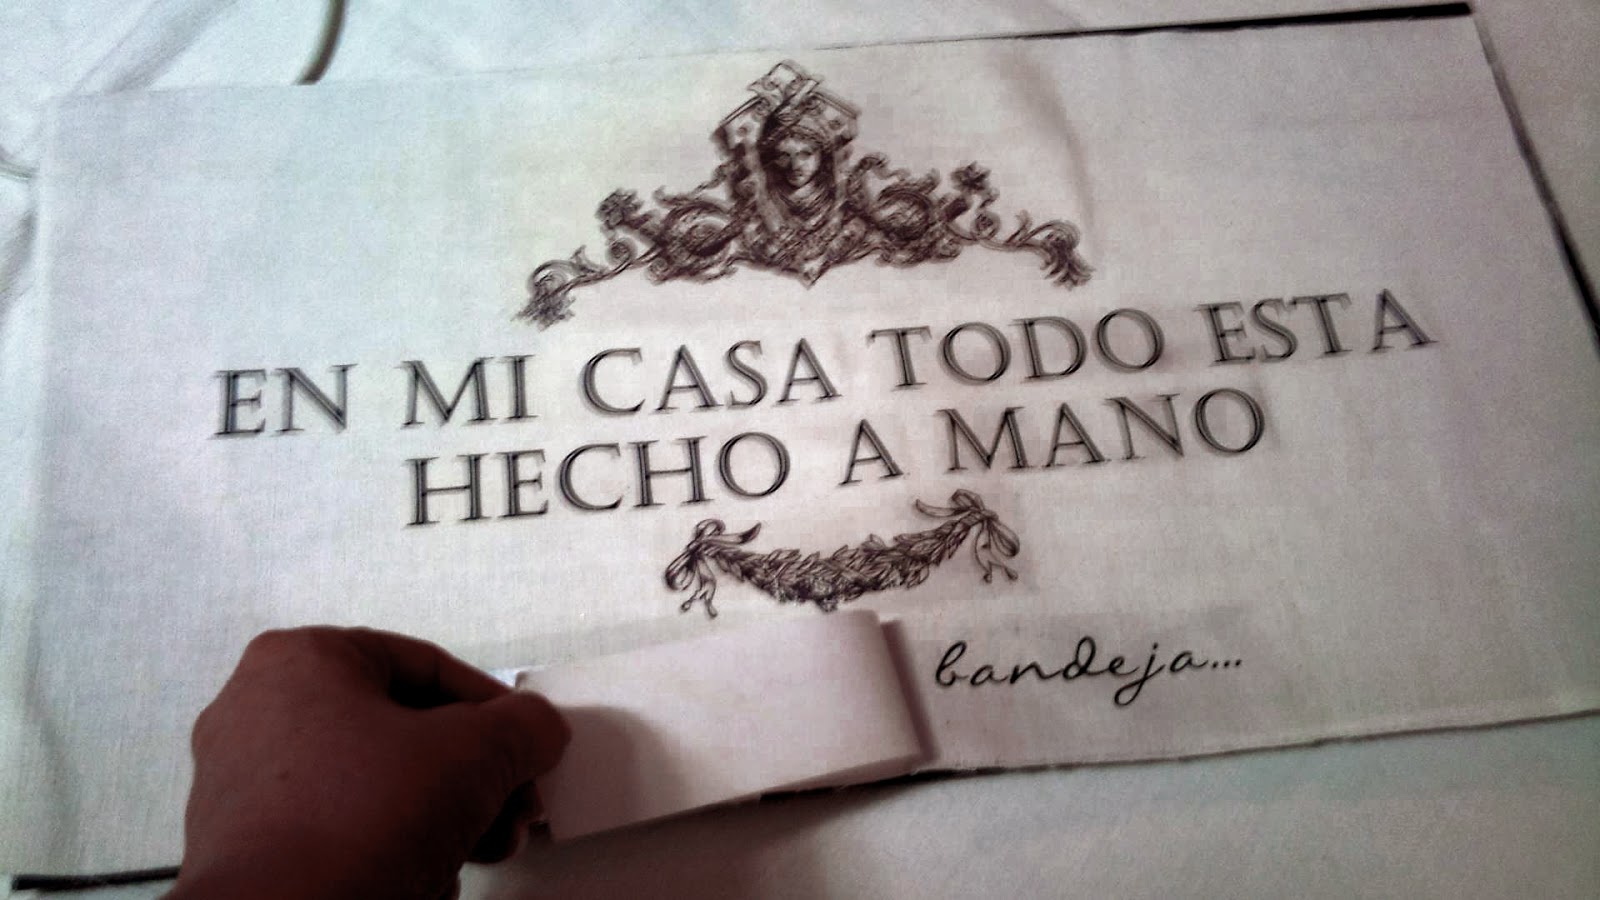
The tray was originally a picture frame that I dismantled, I came up with my own Spanish quote for it that says “In this house everything is handmade, even this tray…”
This is how I did it...
I often hear my sister’s comment about my crafting, they praise me for my talent but they also tease me for the many, many items in my house that are handmade, refurbished or redone… so, I made this tray to confirm their suspicions about my crafting obsessions.
The tray was originally a picture frame that I dismantled, I came up with my own Spanish quote for it that says “In this house everything is handmade, even this tray…”
This is how I did it...
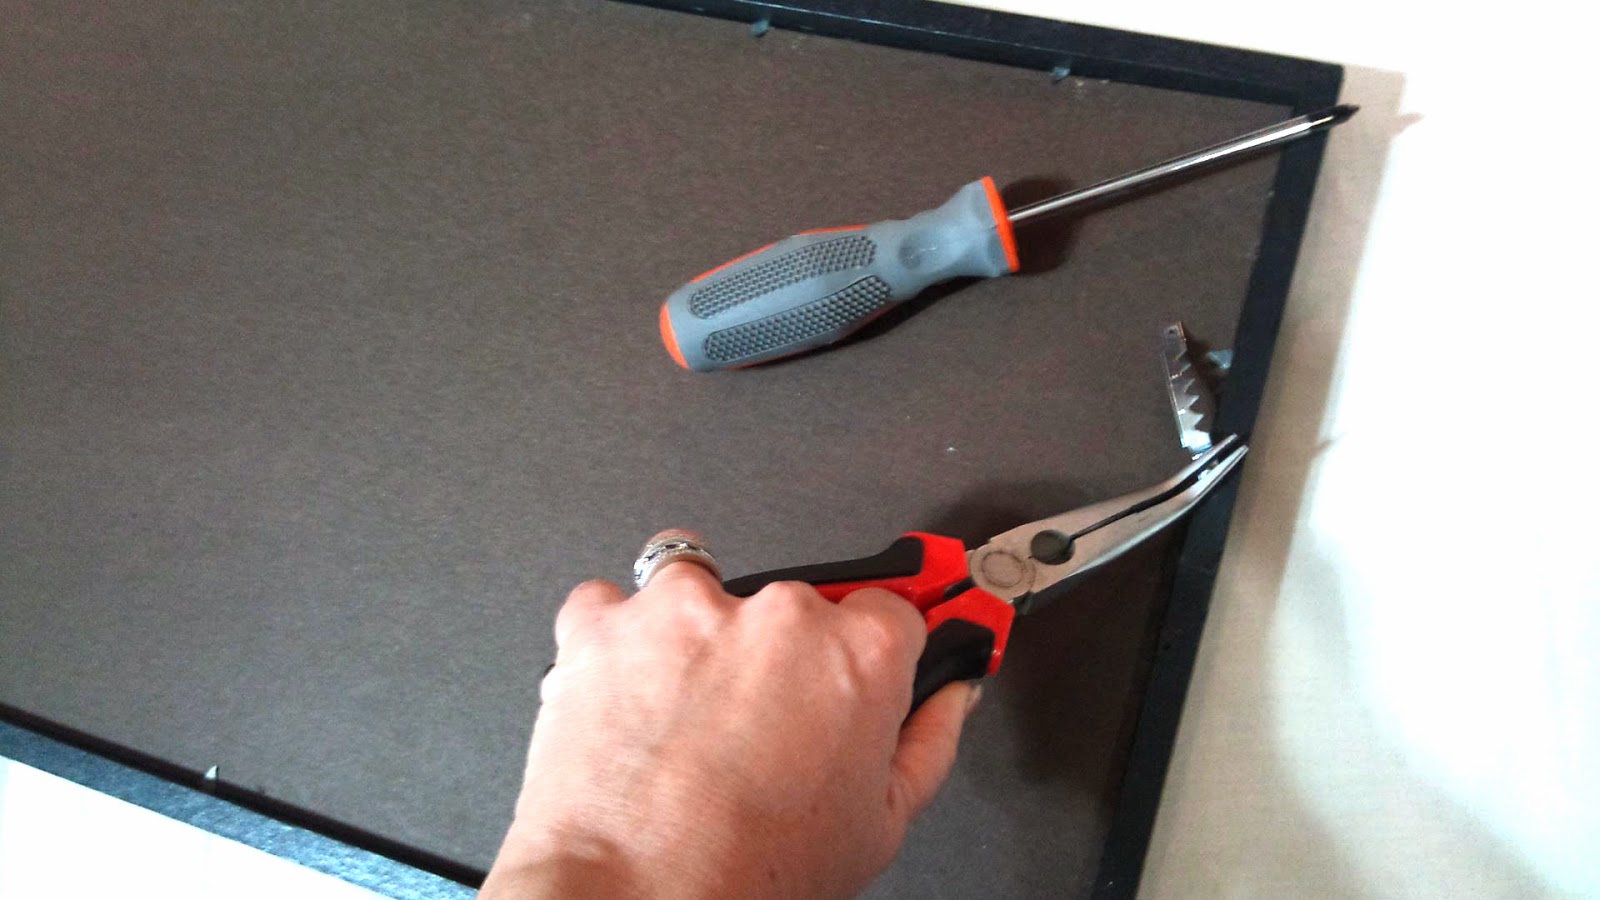
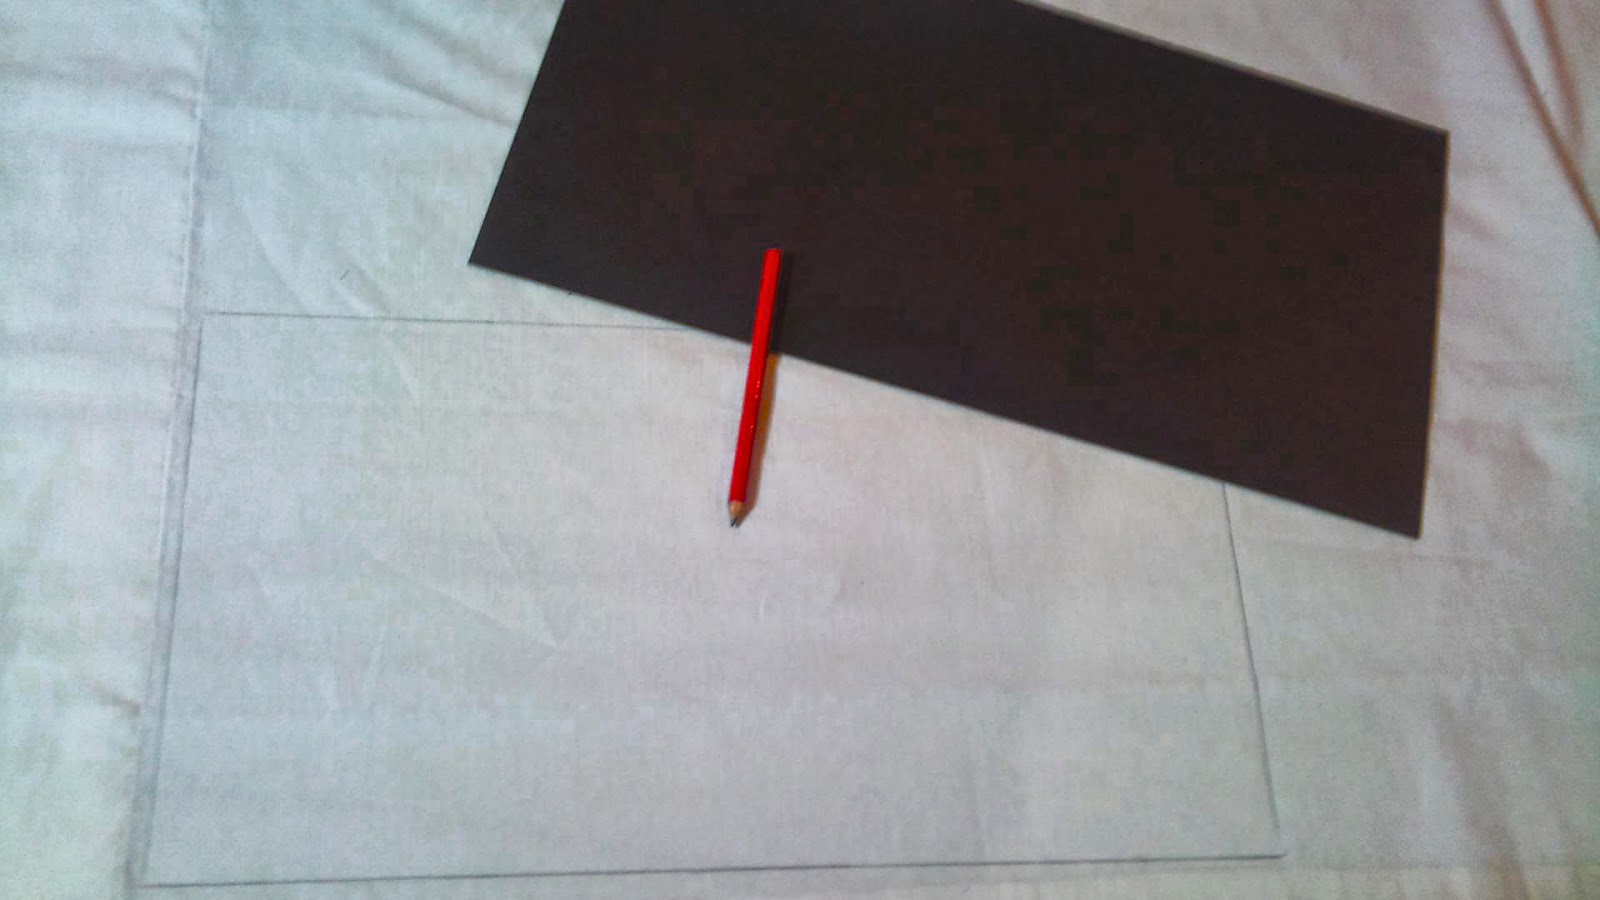
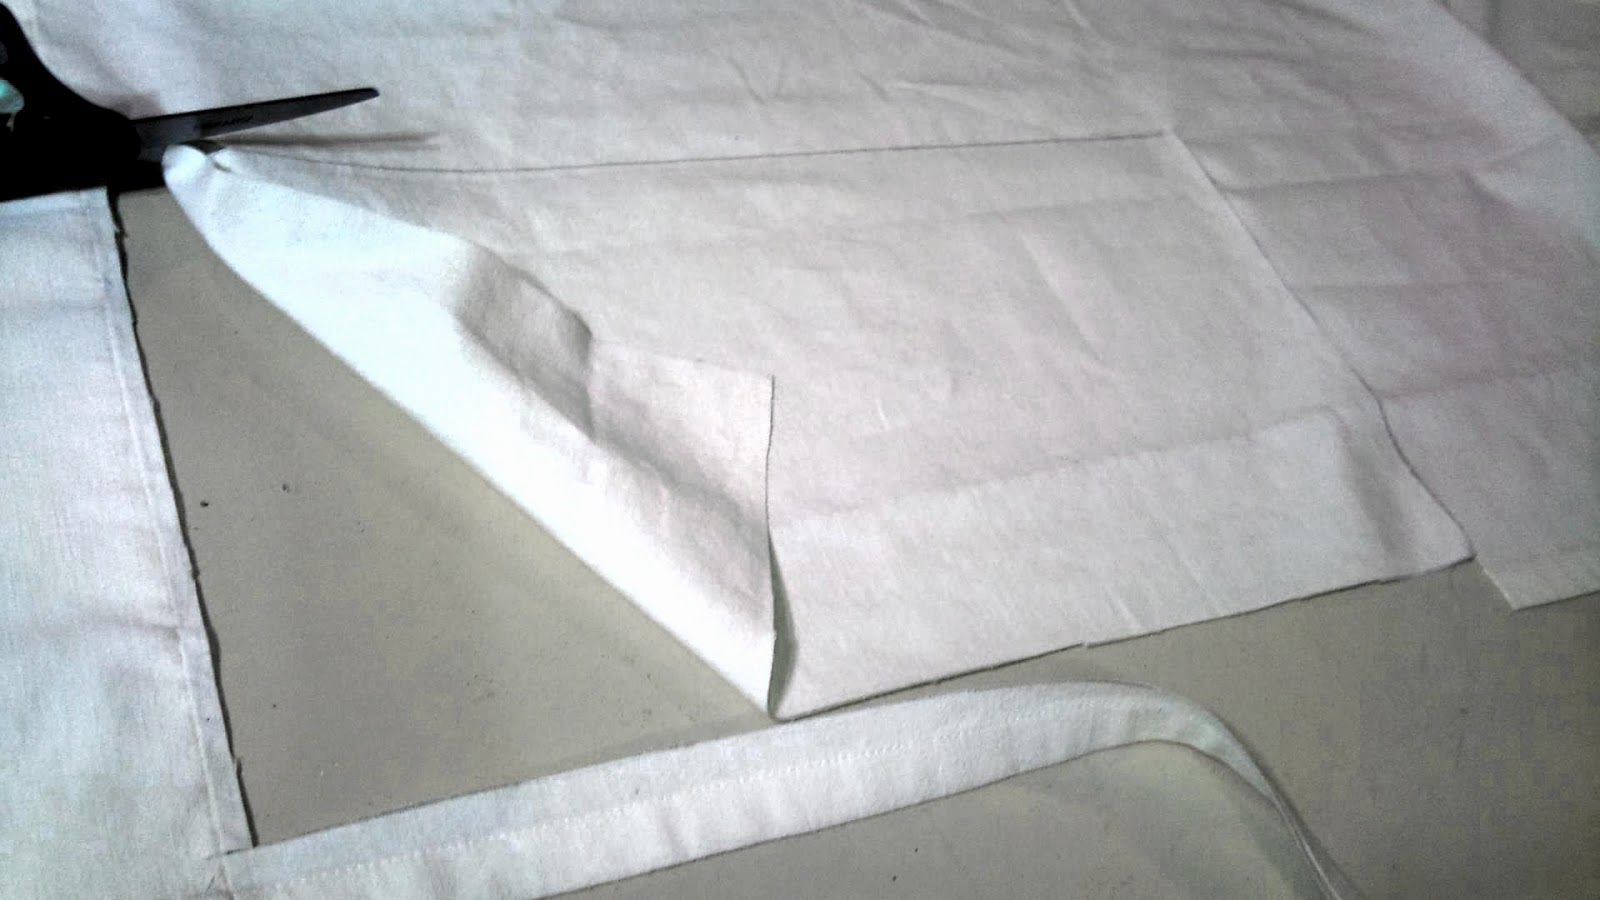
2. I placed the cardboard backing on to a clean piece of linen fabric to outline the dimensions with a pencil.3. I cut the fabric and ironed it slightly to make sure it had no wrinkles before I ironed the printout words.
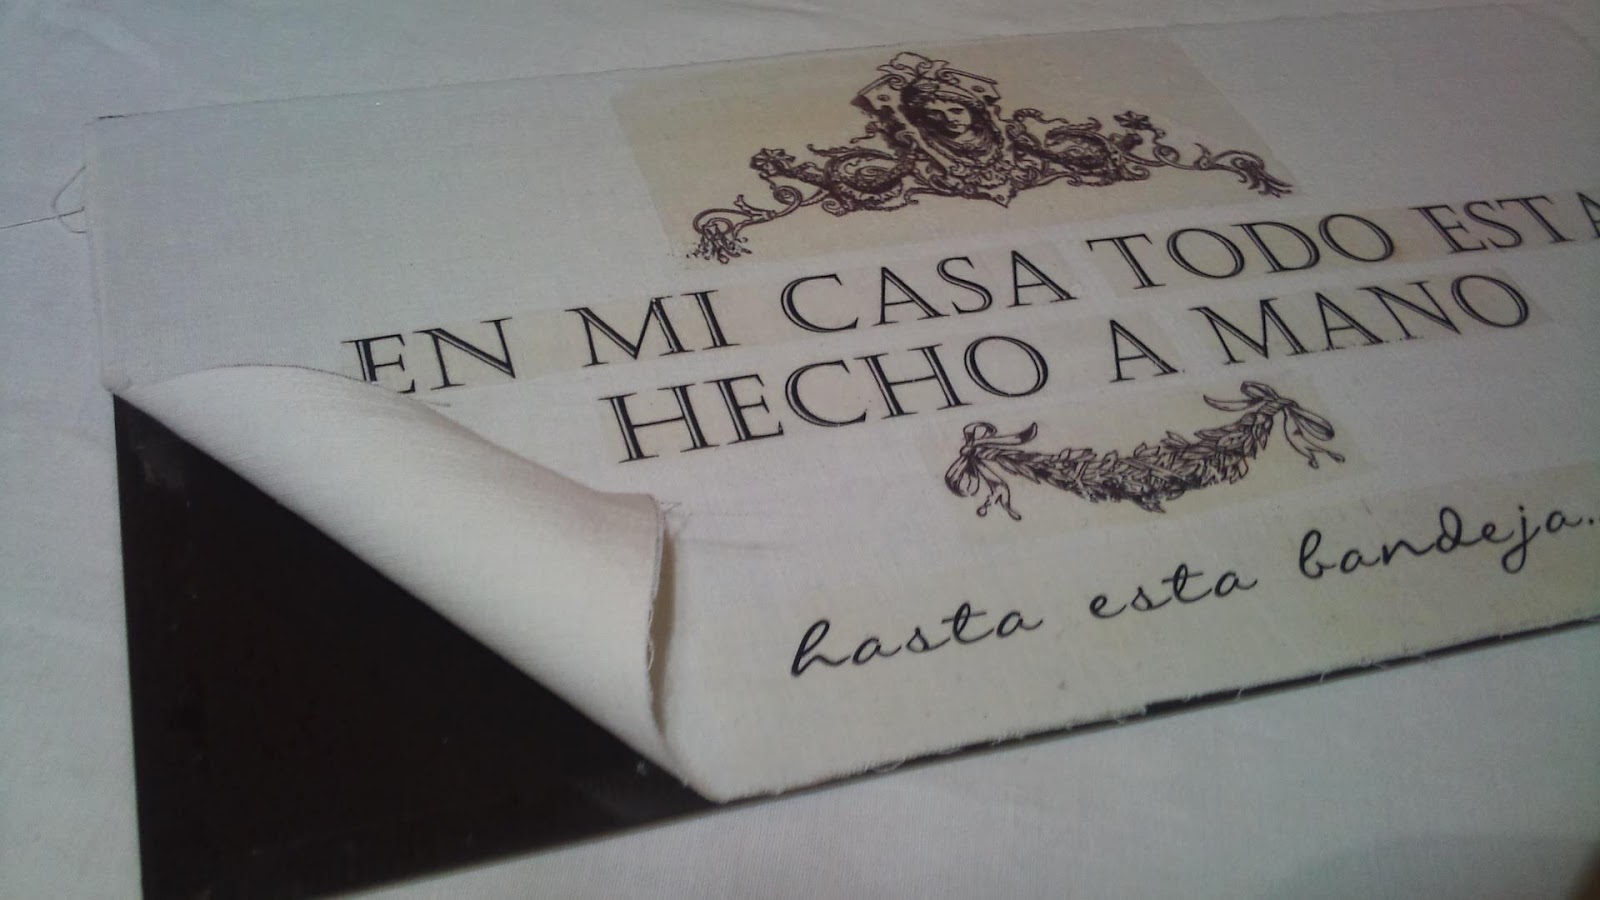
4.For my design I used Photoshop on Iron-On sheets (you can find these Iron-On transfer sheets at Walmart for about $1 per sheet) I had to print the words and the two swags in two separate sheets for everything to fit properly.5. Remember! you must print it "mirror image" in order to print properly or it will print backwards.
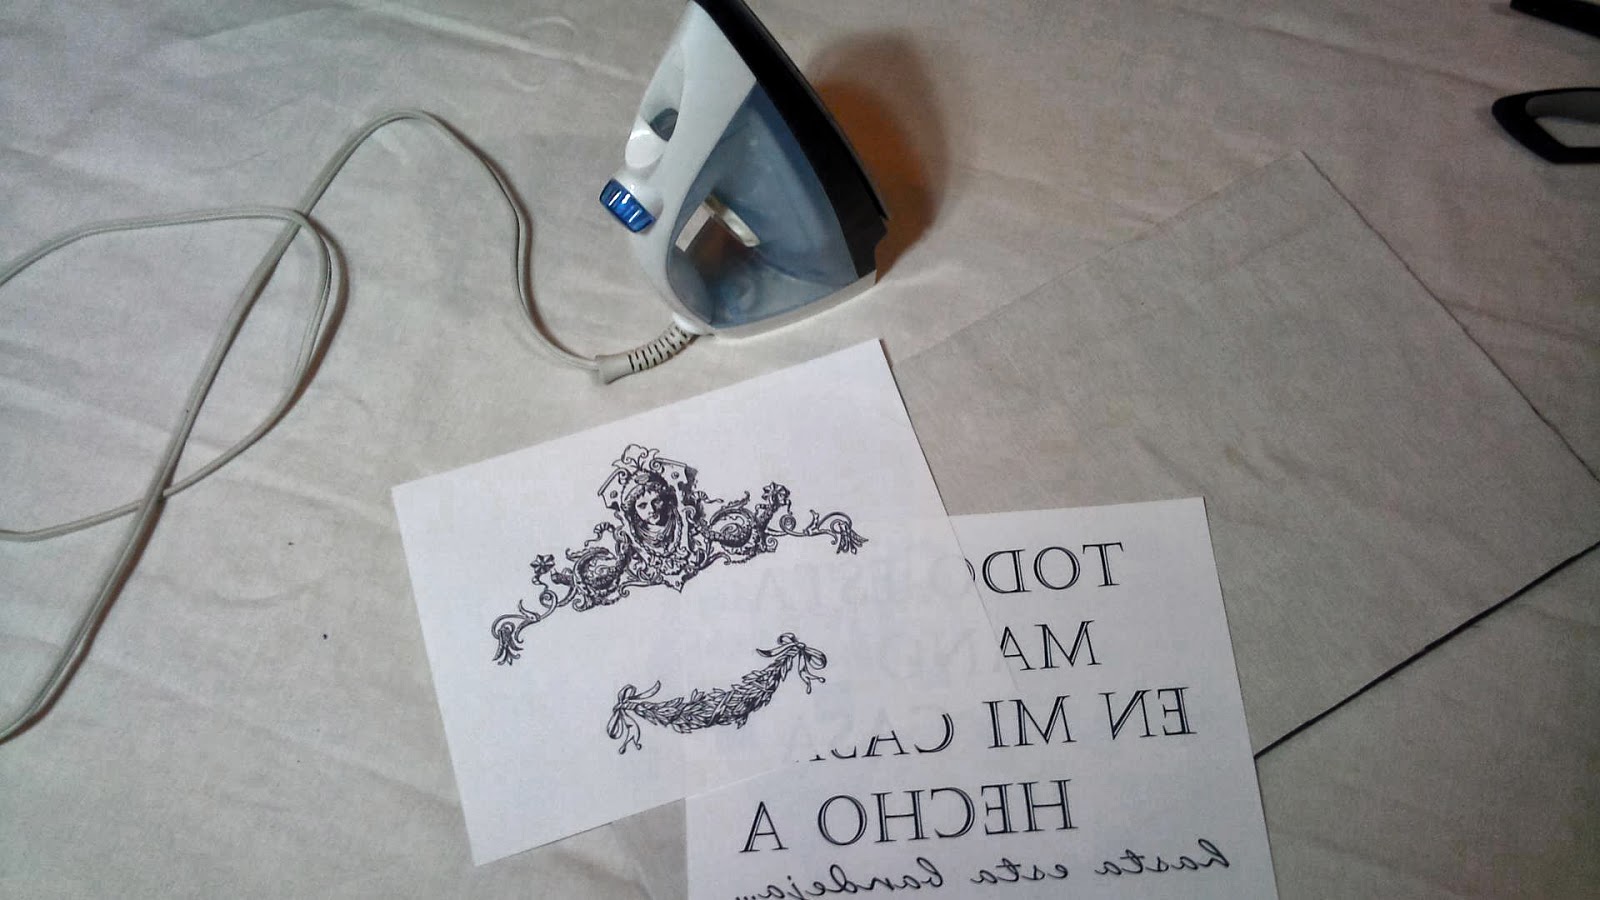
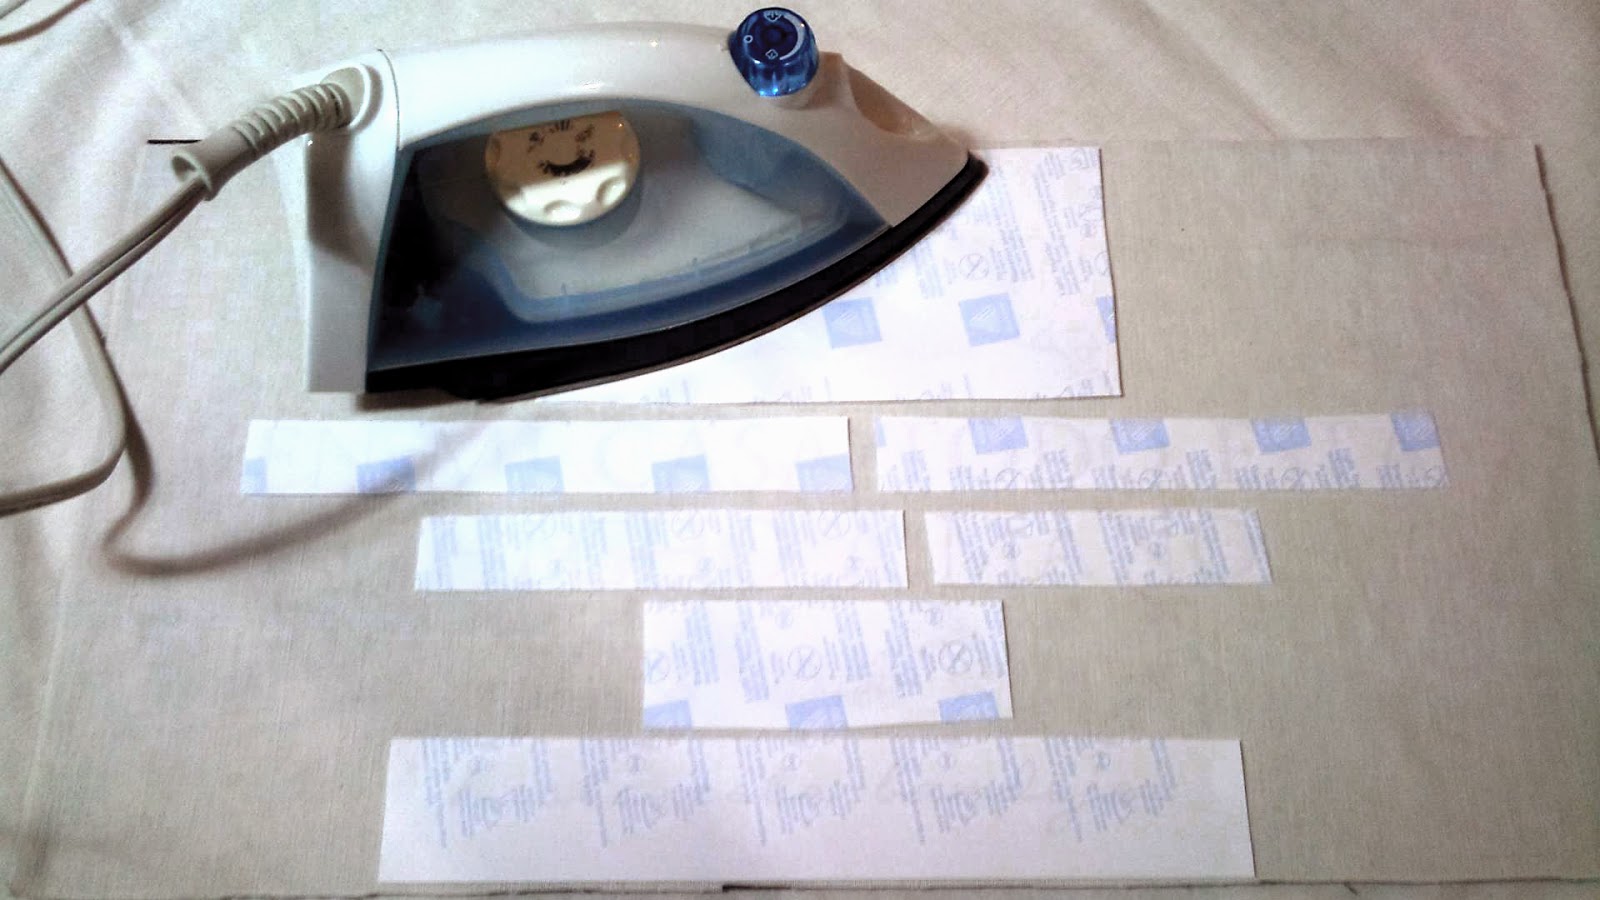
6. I placed the printed sheets where I though they'll look good and Iron them to transfer them onto the fabric. You do that by heating the iron to medium, no-steam and gently placing the iron on each sheet moving back and forth until you can see the printed design has adhered to the fabric, you can lift the edges of the sheet to check, if not, keep ironing until they do...1 minute or so.
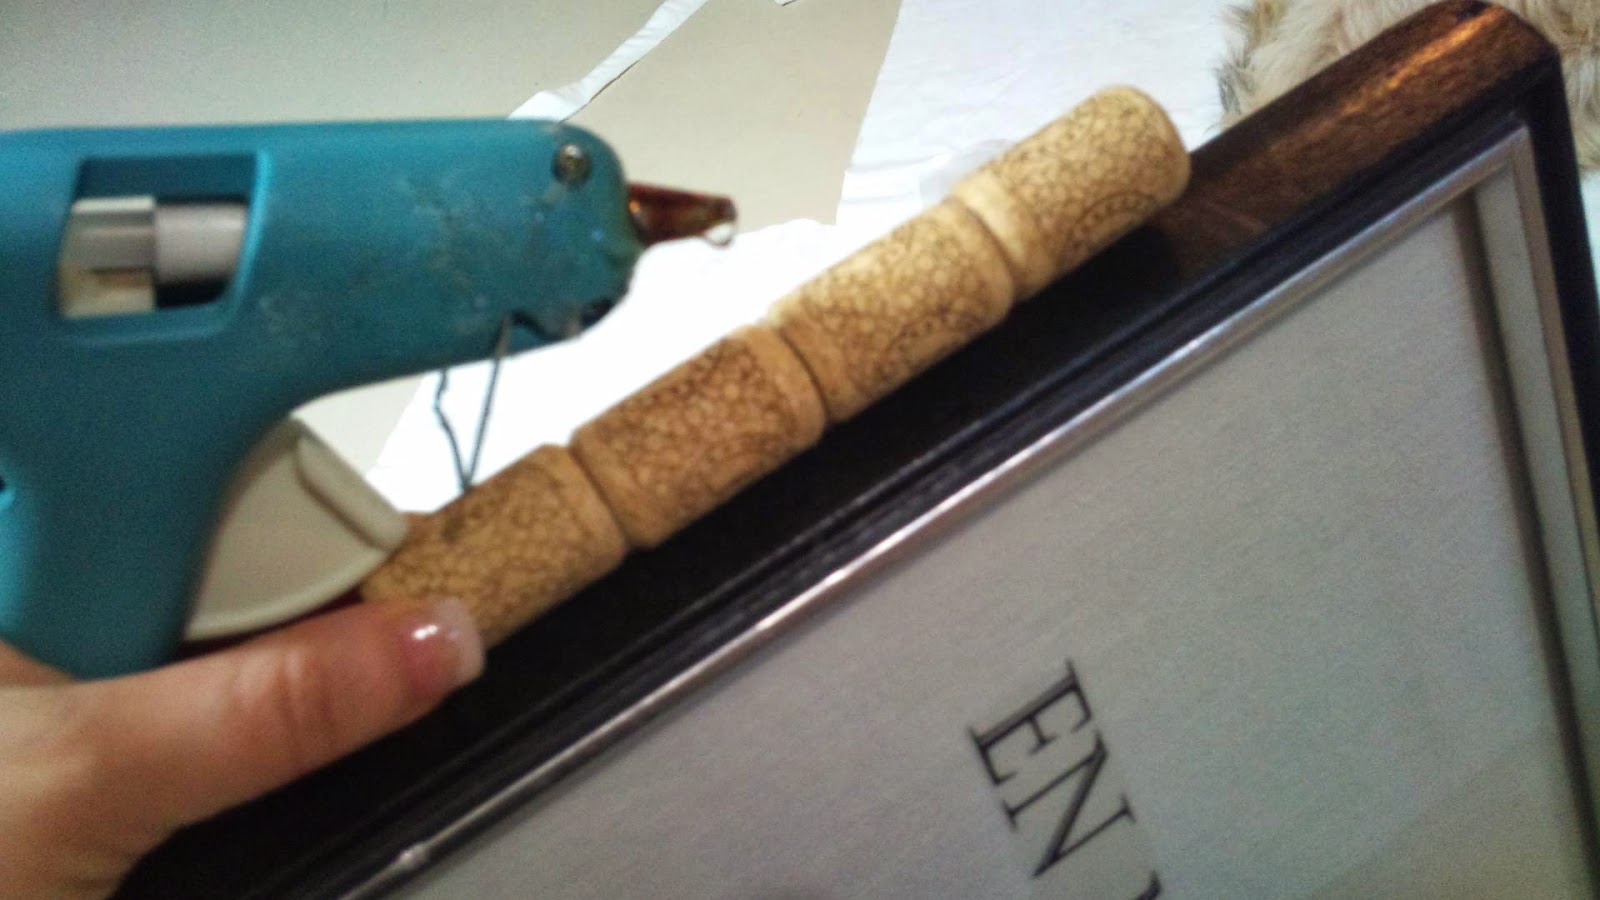
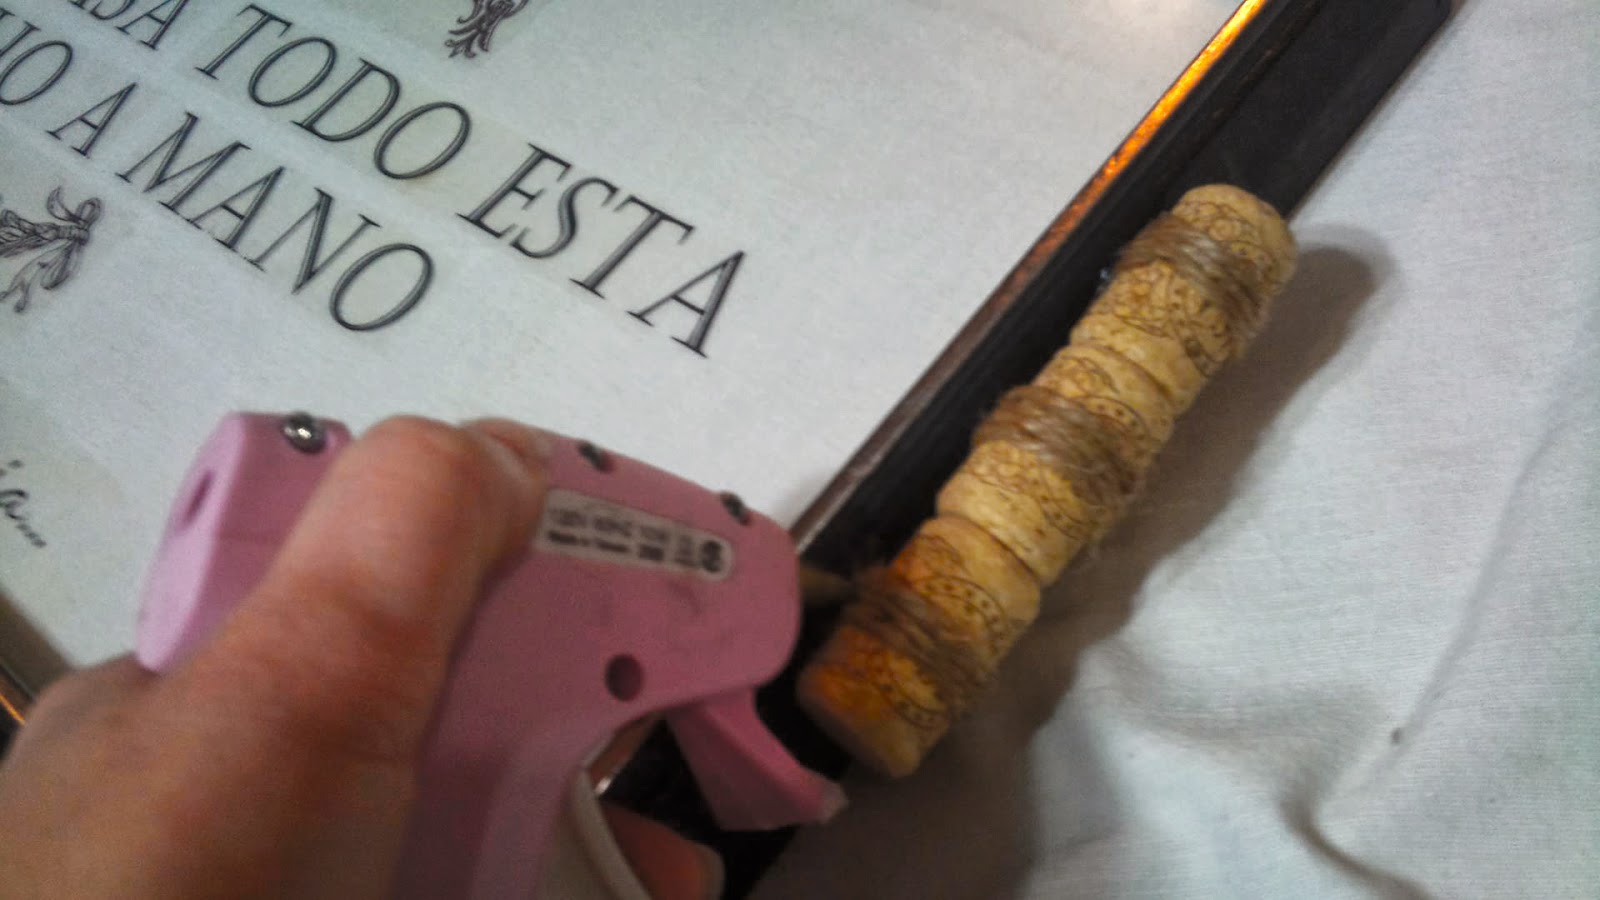
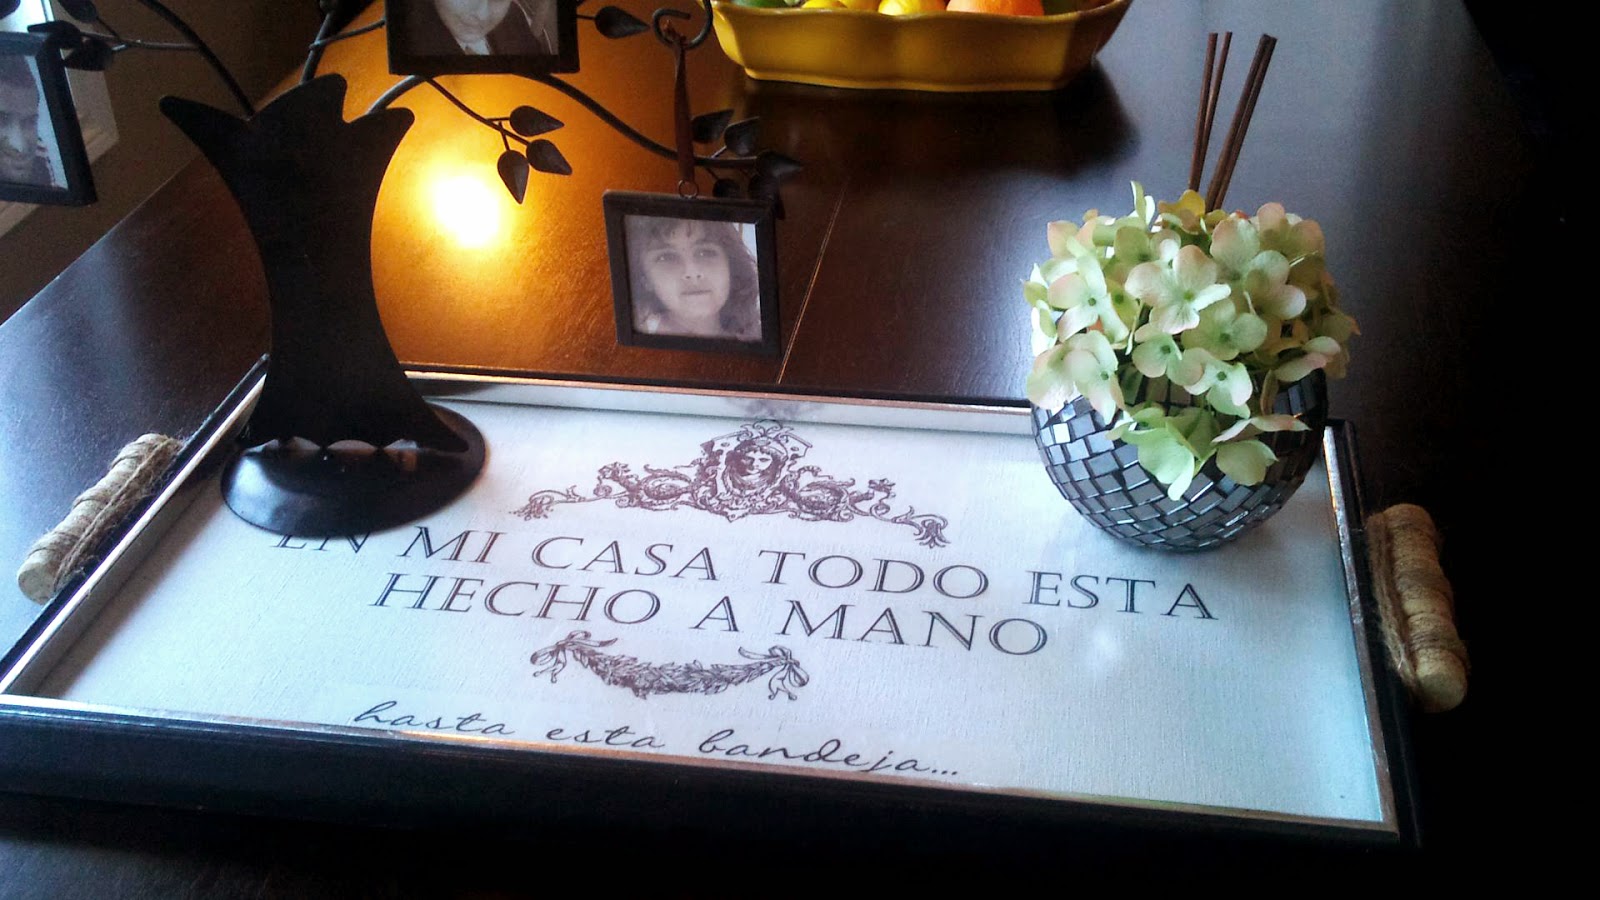
8. I used corks and twine to create the "illusion" of handles for this tray which I don't ever plan to use as a tray, only as decor but you have the option to find and screw in small drawer handles or similar hardware to use it as a functional tray, of course.
It turned out beautiful!!!
and my joke ended up being yet another crafty creation my sisters wished they had in their own homes... LOL
Let me know what you think of this project by commenting below, thank you!
No comments:
Post a Comment
Share your thoughts on this posting!
Note: Only a member of this blog may post a comment.